SalesforceのTrailheadにシングルサインオン設定の方法が紹介されていたので試してみました。

Step 1: Create a Federation ID
ユーザの編集画面を表示。Federation IDに値を入力します。
Step 2: Set Up Your SSO Provider in Salesforce
こちらのデモ用ページを利用します。

http://axiomsso.herokuapp.com/Home.action
SAML Identity Provider & Testerリンクをクリック。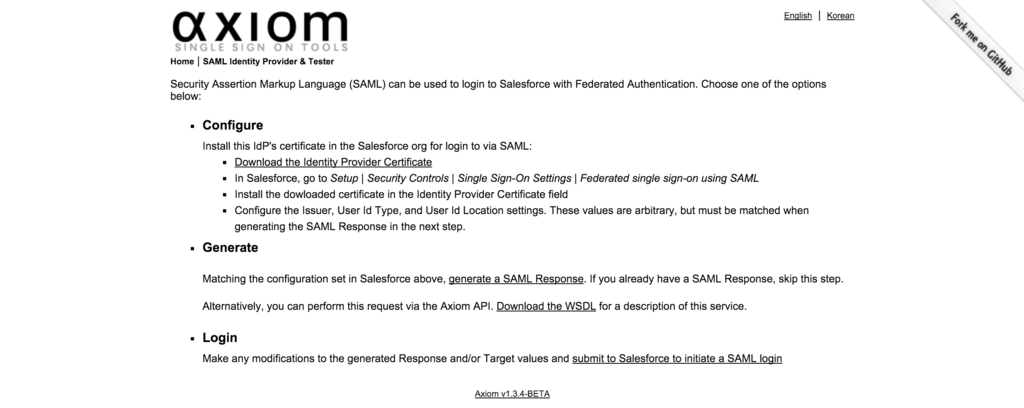
Download the Identity Provider Certificateリンクをクリック。証明書をダウンロードできます。
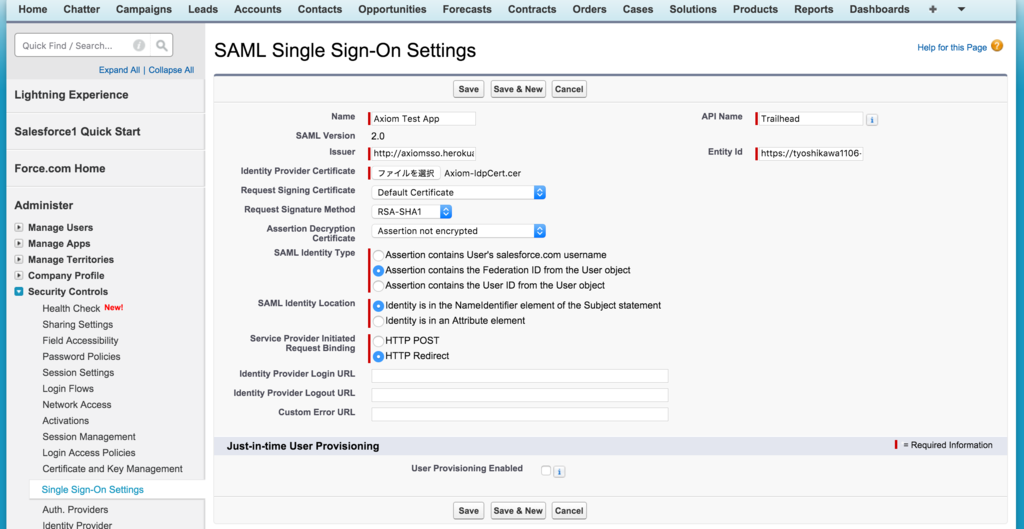
セキュリティのコントロールのSingle Sign-On Settingsから設定。有効化のチェックを付けてから。Newボタンをクリック。
- Name: Axiom Test App
- Issuer: http://axiomsso.herokuapp.com
- Identity Provider Certificate: Choose the file you downloaded in step 3.
- Request Signing Certificate: Leave it as Default Certificate.
- SAML Identity Type: Select Assertion contains the Federation ID from the User object.
- SAML Identity Location: Select Identity is in the NameIdentifier element of the Subject statement.
- Service Provider Initiated Request Binding: Select HTTP Redirect.
- Entity Id: Enter your My Domain name, including “https.” Use the custom domain name that you set up in the “Customize Your Login Process with My Domain” unit.
Step 3: Link Your Identity Provider to Salesforce
SAML Identity Provider & Testerのページに戻り、generate a SAML responseリンクをクリック。ここに必要事項を入力していく。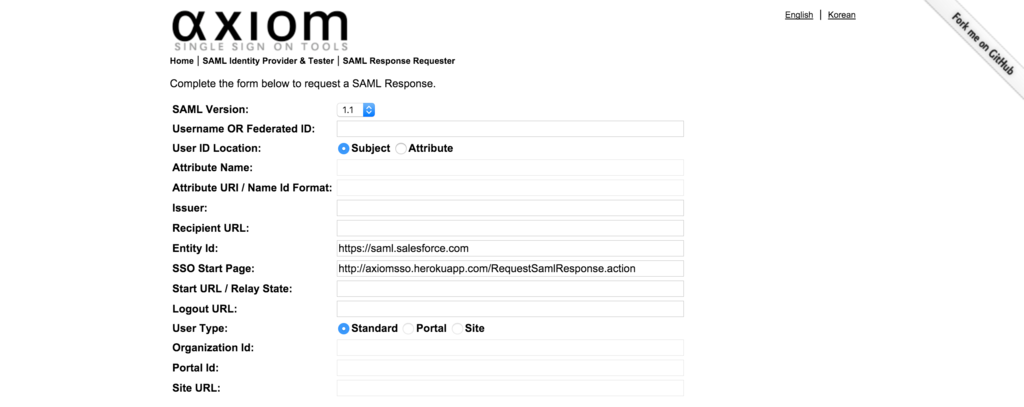
- SAML Version: 2.0
- Username or Federated ID: sia@jedeye-tech.com
- Issuer: http://axiomsso.herokuapp.com
- Entity Id: The Entity ID from the Salesforce SAML Single Sign on Setting page.
- Recipient URL: Get the URL from the Salesforce SAML Single Sign on Setting page, too. Don’t see it? It’s at the bottom labeled Salesforce Login URL.
こんな感じになります。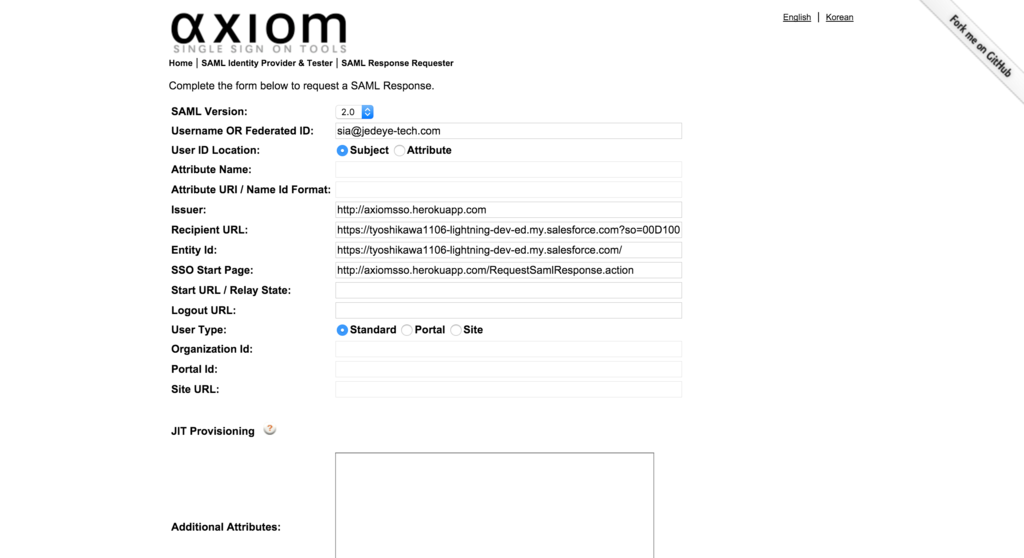
次の画面でログインボタンをクリックすると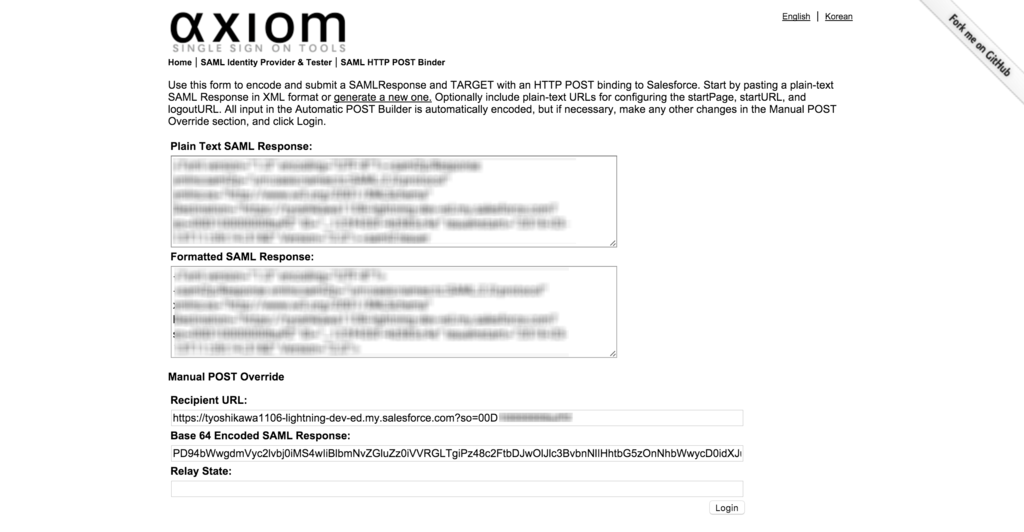
これでSalesforceにログインできました。