Heroku Dev CenterにHeroku Connect APIの実行手順がまとめられていたのでちょっと試してみました。

はじめに
Heroku Toolbelt pluginのインストール
最初にHeroku Toolbeltにプラグインをインストールします。
$ heroku plugins:install heroku-connect-plugin
Endpointsについて
Herokuアプリにアクセスする際にエンドポイントのURL情報が必要になりますが、リージョンによりURLが異なるとのことです。USかEUの場合はつぎの通りです。
US: https://connect-us.heroku.com/api/v3
EU: https://connect-eu.heroku.com/api/v3
リージョンは次のコマンドで確認できるそうです。
$ heroku info -a <app_name>
Authenticationについて
Heroku Connect APIを利用する際にAuth認証のためのトークンが必要になります。次のようにヘッダー情報に持たせればいいみたいです。
Authorization: Bearer <token>
JSON encodingについて
API実行時のContent-Typeは次のようになります。
Content-Type: application/json
Rate limitsについて
一日にリクエストできる回数の上限は「5000」までとなっているみたいです。
Step 1: Create a Heroku app and Heroku PostgreSQL database
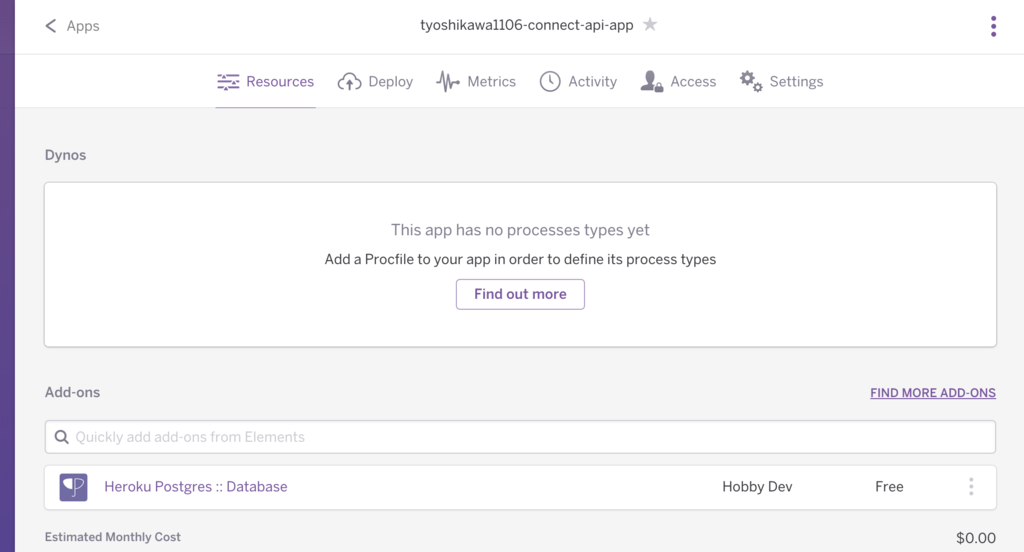
Herokuアプリの作成とPostgresSQLプラグインを追加します。
$ heroku apps:create <app_name>
$ heroku addons:create heroku-postgresql -a <app_name>


Step 2: Create the Heroku Connect add-on
Heroku Connectのプラグインを追加します。
$ heroku addons:create herokuconnect -a <app_name>


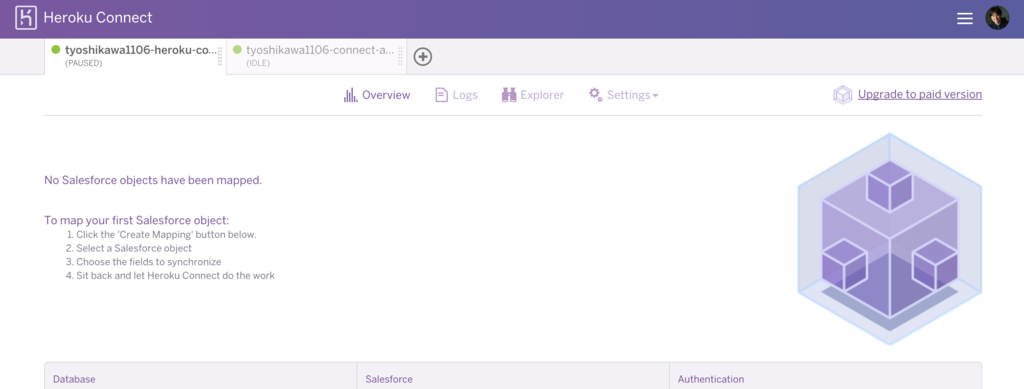
プラグインの追加が終わったら次に進む前にHeroku Connectの設定画面からSalesforceとの接続を実行します。これをやらないと次のステップでエラーとなりました。
Step 3: Link the connection to your Heroku user account
次のコマンドで認証トークンとHerokuアカウントと接続する必要があります。
$ curl -X POST -H "Authorization: Bearer <token>" https://connect-us.heroku.com/api/v3/users/me/apps/<app_name>/auth


HerokuのTokenは次のコマンドで取得できる値を利用します。
$ heroku auth:token
詳細はこちら
Step 4: Retrieve the new connection’s ID
新しい接続IDを取得します。
$ curl -H "Authorization: Bearer <token>" https://connect-us.heroku.com/api/v3/connections?app=<app_name>
ここまでの設定が正しくできていればJSON文字列を取得できます。取得結果内にConnection IDがあるはずなのでそれを次のステップで利用します。・・・もしくは次のコマンドでもConnection IDを取得できます。
$ heroku connect:info -a <heroku app name>
左側の値がConnection IDとのことです。こっちのほうが確認しやすかったです。
Connection [
/ ] (NEW)
Step 5: Configure the database key and schema for the connection
次のコマンドでDatabase KeyやSchema情報を取得できるみたいです。
$ curl -X PATCH -H "Authorization: Bearer <token>" -H "Content-Type: application/json" -d '{"schema_name": "salesforce", "db_key": "DATABASE_URL"}' https://connect-us.heroku.com/api/v3/connections/<connection_id>もしくは
$ heroku connect:setup -s salesforce -d DATABASE_URL -a <app_name>
二番目のコマンドの方が確認しやすいです。
実行するとHerokuアプリの情報や接続先のSalesforce組織の情報を取得することができました。
Step 6: Authenticate the connection to your Salesforce Org
Salesforceに接続するHerokuの認証・・的なことを次のコマンドでできるみたいです。
curl -X POST -H "Authorization: Bearer <token>" -H "Content-Type: application/json" -d '{"environment": "production"}' https://connect-us.heroku.com/api/v3/connections/<connection_id>/authorize_urlもしくは
$ heroku connect:auth -a <app_name>
実行するとSalesforceのログインページが表示されました。ユーザ情報を入力してログインすると認証作業が無事に実行されました。
Step 7: Import a mapping configuration
Salesforceのデータを同期するためのマッピングを作成する最も簡単な方法は、既存の接続からエクスポートJSONマッピング設定をインポートすることです。
というようなことを次のコマンドで実行できるみたいです。
$ curl -X POST -H "Authorization: Bearer <token>" -F "config=@config.json" https://connect-us.heroku.com/api/v3/connections/<connection_id>/actions/import
もしくは
$ curl -X POST -H "Authorization: Bearer <token>" -H "Content-Type: application/json" https://connect-us.heroku.com/api/v3/connections/<connection_id>/actions/import -d @config.json
もしくは
$ heroku connect:import <exported_config.json> -a <app_name>
マッピング設定をHerokuの設定画面からやらない場合はこれでアップロードすればいいみたいです。
Step 8: Monitor the connection and mapping status
マッピング後の情報は次のコマンドで取得できそうです。
$ heroku connect:info -a <app_name>
あとは次のような設定ができるみたいです。ここまでうまく行っていたら設定周りは問題なさそうなので、サイトに記載されたコマンドを実行するだけで上手くいくと思います。
- Additional endpoints
- Pause the connection
- Restart the connection
- Reload a mapping
- Get mapping details
- Create a new mapping
- Edit an existing mapping
- Delete an existing mapping
Heroku Connect APIの基本的な使い方はこんな感じでした。途中、Tokenの取得方法とかでちょっとハマったのと、Heroku Connect プラグインの追加後に、Salesforceへの接続設定をやらずにステップを進めようとしてしまいうまくいかなかったりしましたが、基本Heroku Dev Centerの手順どおりに進めれば問題なく実行できました。